Installing a butterfly valve in a vertical pipeline is a task that requires careful planning and execution. As a trusted Butterfly Valve supplier, we understand the importance of providing you with comprehensive guidance on this process. In this blog, we will walk you through the steps of installing a butterfly valve in a vertical pipeline, ensuring a successful and efficient installation.
1. Pre - installation Preparation
Assessing the Pipeline
Before installing the butterfly valve, it is essential to thoroughly assess the vertical pipeline. Check the pipeline's diameter, material, and the operating conditions it will be subjected to, such as pressure, temperature, and the type of fluid flowing through it. The valve you choose should be compatible with these factors. For example, if you are dealing with a pipeline carrying corrosive fluids, a valve made of corrosion - resistant materials like stainless steel would be appropriate.
Valve Selection
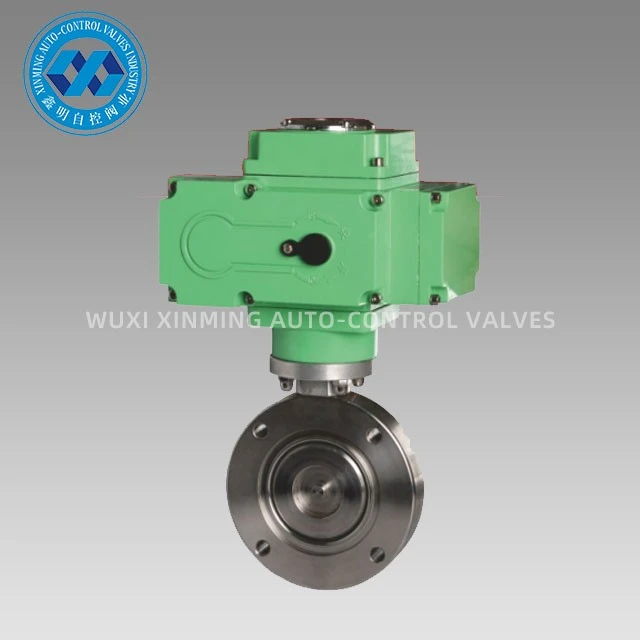
As a Butterfly Valve supplier, we offer a wide range of valves to meet various needs. You may consider our Custom Single And Double Action Flanged Butterfly Valve, which provides flexibility in operation. If your application involves a vacuum environment, our Vacuum Butterfly Valve would be an ideal choice. For industries with high - hygiene requirements, such as food and beverage or pharmaceuticals, our Sanitary Butterfly Valve is designed to meet the strict standards.
Gathering Tools and Materials
Gather all the necessary tools and materials for the installation. You will need a wrench or socket set to tighten bolts, a measuring tape to ensure proper alignment, gaskets for a leak - proof seal, and safety equipment such as gloves and safety glasses.
2. Valve Inspection
Visual Inspection
Inspect the butterfly valve for any visible damage, such as cracks, dents, or scratches. Check the disc, stem, and seals to ensure they are in good condition. Any damage to these components can affect the valve's performance and lead to leaks or malfunction.
Function Test
Before installation, perform a function test on the valve. Rotate the valve handle or actuator through its full range of motion to ensure smooth operation. The disc should open and close freely without any binding.
3. Pipeline Preparation
Cleaning the Pipeline
Thoroughly clean the vertical pipeline to remove any debris, dirt, or rust. This ensures a clean and even surface for the valve installation and prevents any foreign objects from entering the valve and causing damage. You can use a pipe cleaner or a wire brush for this purpose.
Marking the Installation Location
Mark the exact location on the pipeline where the butterfly valve will be installed. Measure the length of the valve and mark the corresponding positions on the pipeline. Ensure that there is enough space on either side of the valve for easy access during maintenance.
Cutting the Pipeline (if necessary)
If the pipeline needs to be cut to accommodate the valve, use a suitable pipe cutter. Make a clean and straight cut to ensure proper alignment with the valve. After cutting, deburr the edges of the pipeline to prevent damage to the gaskets.
4. Valve Installation
Placing the Gaskets
Place gaskets on both sides of the valve flanges. The gaskets should be of the correct size and material to ensure a tight seal. Ensure that the gaskets are centered and free of any wrinkles or folds.
Aligning the Valve
Carefully align the valve with the marked positions on the pipeline. Use a measuring tape to ensure that the valve is centered and perpendicular to the pipeline. Misalignment can cause stress on the valve and pipeline, leading to leaks and premature failure.
Bolting the Valve
Insert bolts through the valve flanges and the pipeline flanges. Use a wrench or socket set to tighten the bolts evenly. Tighten the bolts in a criss - cross pattern to ensure uniform pressure on the gaskets. Do not overtighten the bolts, as this can damage the gaskets or the valve flanges.

5. Post - installation Checks
Leak Test
After installation, perform a leak test. Close the valve and apply pressure to the pipeline. Check for any leaks around the valve flanges. If leaks are detected, loosen the bolts slightly, adjust the gaskets, and retighten the bolts.
Function Test
Once again, perform a function test on the valve. Open and close the valve several times to ensure smooth operation. Check that the valve handle or actuator moves freely and that the disc fully opens and closes.
System Check
Check the entire pipeline system to ensure that it is functioning properly. Monitor the pressure, flow rate, and temperature to ensure that they are within the normal operating range.
6. Maintenance Considerations
Regular maintenance is crucial to ensure the long - term performance of the butterfly valve in the vertical pipeline. Inspect the valve periodically for signs of wear, corrosion, or leaks. Lubricate the valve stem and moving parts as recommended by the manufacturer. Replace gaskets and seals if they show signs of damage or deterioration.
Conclusion
Installing a butterfly valve in a vertical pipeline requires careful attention to detail. By following the steps outlined above, you can ensure a successful installation that will provide reliable performance. As a leading Butterfly Valve supplier, we are committed to providing high - quality valves and comprehensive support to our customers. If you have any questions about valve selection, installation, or maintenance, or if you are interested in purchasing our butterfly valves, please feel free to contact us for further discussion. We look forward to serving your needs and helping you achieve optimal performance in your pipeline systems.
References
- "Valve Installation Handbook" - General valve industry reference book for installation guidelines
- Manufacturer's installation manuals for specific butterfly valve models


