Hey there! As a supplier of sanitary ball valves, I often get asked about how to install these valves in a vertical pipeline. It might seem a bit tricky at first, but with the right steps and a bit of know - how, it can be a smooth process. In this blog, I'll walk you through the whole installation process.
Why Choose a Sanitary Ball Valve for Vertical Pipelines?
Before we jump into the installation, let's talk about why sanitary ball valves are a great choice for vertical pipelines. These valves are designed to meet strict hygiene standards, which is crucial in industries like food and beverage, pharmaceuticals, and dairy. They have a smooth interior surface that prevents the buildup of dirt, bacteria, and other contaminants.
In a vertical pipeline, the flow of fluid is different compared to a horizontal one. Sanitary ball valves can handle this vertical flow effectively, providing a tight shut - off when needed. They also offer quick and easy operation, which is a big plus in a production environment where time is of the essence.
Tools and Materials You'll Need
First things first, gather all the necessary tools and materials. You'll need a wrench, preferably an adjustable one. This will be used to tighten the nuts and bolts during the installation. A pipe cutter is also essential if you need to cut the pipeline to fit the valve. Make sure it's sharp and in good condition.
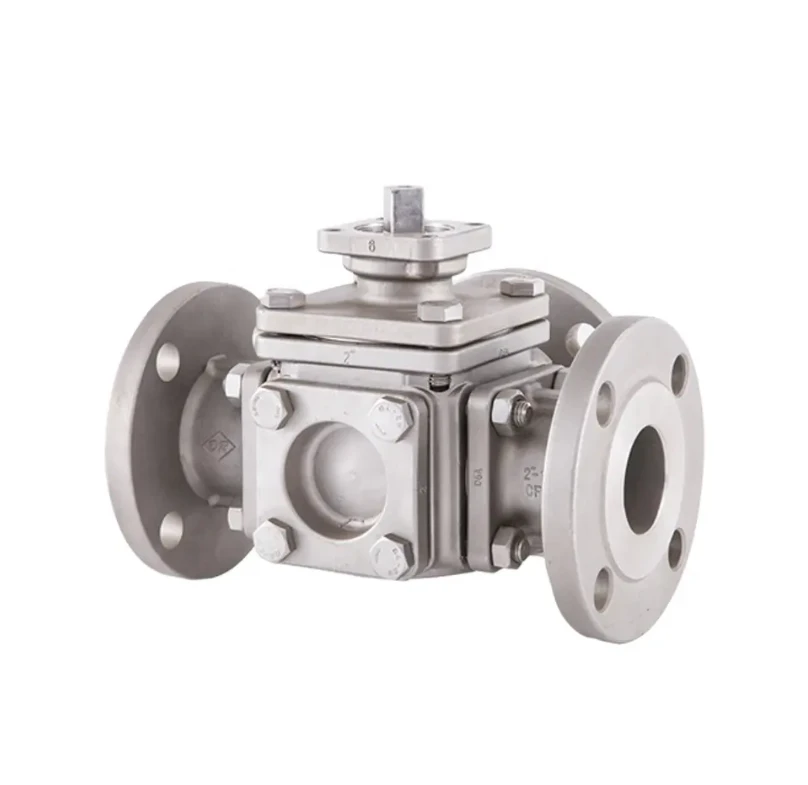
You'll also need some sealing materials, like gaskets. These gaskets help create a leak - proof seal between the valve and the pipeline. And of course, don't forget the sanitary ball valve itself. If you're looking for different types of ball valves, we offer a wide range, including the Pneumatic Ball Valve For Precision Control And Industrial Flow Regulation, the 3 Way Ball Valve With 180 Degree Turn Pneumatic Actuator, and the Vacuum Ball Valve.
Step 1: Prepare the Pipeline
The first step in the installation process is to prepare the vertical pipeline. Start by shutting off the flow of fluid in the pipeline. This is really important for your safety and to prevent any leaks during the installation.
Next, clean the ends of the pipeline where the valve will be installed. Use a clean cloth to wipe away any dirt, debris, or rust. This ensures a good seal between the valve and the pipeline. If there's any rough or uneven surface, you can use a file to smooth it out.
Step 2: Measure and Cut the Pipeline (if necessary)
If the pipeline is too long, you'll need to measure and cut it to the right length. Measure the distance between the connection points on the valve and mark the pipeline accordingly. Then, use the pipe cutter to make a clean cut. Make sure the cut is straight and perpendicular to the pipeline.
After cutting, deburr the edges of the pipeline. You can use a deburring tool or a file to remove any sharp edges. This prevents damage to the gaskets and ensures a proper seal.
Step 3: Install the Gaskets
Now it's time to install the gaskets. Place the gaskets on the connection points of the valve. Make sure they fit properly and are centered. Gaskets come in different materials, such as rubber or silicone. Choose the one that's suitable for your application.
When placing the gaskets, be careful not to damage them. A damaged gasket can lead to leaks, so handle them with care. You can use a bit of lubricant on the gaskets to make the installation easier and to help create a better seal.
Step 4: Connect the Valve to the Pipeline
Once the gaskets are in place, it's time to connect the valve to the pipeline. Align the valve with the pipeline so that the connection points match up. Then, insert the bolts through the holes in the valve and the pipeline.

Start by tightening the bolts by hand to make sure they're in the right position. Then, use the wrench to tighten them further. But don't over - tighten the bolts. Over - tightening can damage the valve or the pipeline and can also cause the gaskets to deform, leading to leaks.
Step 5: Check for Leaks
After connecting the valve to the pipeline, it's important to check for leaks. Slowly turn on the flow of fluid in the pipeline and observe the valve and the connection points. Look for any signs of leakage, such as dripping or spraying.
If you notice a leak, turn off the flow of fluid immediately. Check the bolts to make sure they're tightened properly. You may also need to adjust the position of the gaskets. Once you've made the necessary adjustments, turn on the flow of fluid again and check for leaks one more time.
Step 6: Test the Valve
Once you're sure there are no leaks, it's time to test the valve. Open and close the valve a few times to make sure it operates smoothly. Check the shut - off function to ensure that it can completely stop the flow of fluid.
If the valve doesn't operate smoothly or if the shut - off is not tight, there may be an issue with the installation. You may need to disassemble the valve and check the components. Make sure the ball inside the valve is not stuck and that all the parts are properly aligned.
Maintenance Tips
After installing the sanitary ball valve in the vertical pipeline, regular maintenance is key to ensure its long - term performance. Inspect the valve periodically for any signs of wear and tear. Check the gaskets for damage and replace them if necessary.
Clean the valve regularly to prevent the buildup of contaminants. You can use a mild detergent and a clean cloth to clean the exterior of the valve. For the interior, follow the manufacturer's recommendations for cleaning.
Conclusion
Installing a sanitary ball valve in a vertical pipeline might seem like a complex task, but if you follow these steps, it can be done successfully. Remember to choose the right valve for your application, prepare the pipeline properly, and take your time during the installation process.
If you're in the market for high - quality sanitary ball valves or have any questions about installation or maintenance, don't hesitate to reach out. We're here to help you with all your ball valve needs. Whether you need a Pneumatic Ball Valve For Precision Control And Industrial Flow Regulation, a 3 Way Ball Valve With 180 Degree Turn Pneumatic Actuator, or a Vacuum Ball Valve, we've got you covered. Contact us today to start a procurement discussion and find the perfect valve for your project.
References
- ASME BPE (Bioprocessing Equipment) standards for sanitary design.
- Manufacturer's installation and maintenance guides for sanitary ball valves.


