As a supplier of 220V solenoid valves, I often receive inquiries from customers about how to check if their 220V solenoid valves are working properly. In this blog post, I'll share some comprehensive methods and steps to help you diagnose the functionality of these valves.
1. Visual Inspection
Before diving into more complex testing methods, a simple visual inspection can sometimes reveal obvious issues. First, check the physical condition of the solenoid valve. Look for any signs of damage such as cracks, dents, or loose connections. A damaged valve body can lead to leaks or improper operation.
Inspect the wiring of the solenoid. Ensure that the wires are securely connected to the valve and the power source. Loose or frayed wires can cause intermittent power supply, preventing the valve from operating correctly. Also, check for any signs of overheating, such as discoloration of the wiring or the solenoid coil. Overheating can damage the coil and render the valve inoperable.
2. Power Supply Check
The 220V solenoid valve requires a stable power supply to function. Use a multimeter to measure the voltage at the valve terminals. Set the multimeter to the AC voltage setting and place the probes on the terminals. The reading should be close to 220V. If the voltage is significantly lower or higher, there may be an issue with the power source or the electrical circuit.
If the voltage is normal, check if the power is actually reaching the solenoid coil. You can do this by listening for a clicking sound when the power is applied. When the solenoid is energized, the coil creates a magnetic field that pulls the plunger, which usually makes an audible click. If you don't hear the click, it could indicate a problem with the coil or the plunger mechanism.
3. Coil Resistance Measurement
The solenoid coil has a specific resistance value that can be measured using a multimeter. Set the multimeter to the resistance (ohms) setting and connect the probes to the terminals of the solenoid coil. Compare the measured resistance with the manufacturer's specifications. If the resistance is significantly different from the specified value, the coil may be damaged.
A very low resistance could indicate a short circuit in the coil, while a very high resistance may mean that the coil is open-circuited. In either case, the solenoid valve will not work properly and may need to be replaced.

4. Valve Operation Test
To test the actual operation of the valve, you can use a pressure gauge and a flow meter if possible. Connect the pressure gauge to the inlet and outlet ports of the valve. Apply power to the solenoid and observe the pressure changes. When the valve is open, there should be a change in pressure between the inlet and outlet.
If you have a flow meter, you can also measure the flow rate through the valve. Compare the measured flow rate with the valve's rated flow capacity. A significant deviation from the rated capacity may indicate a blockage or a problem with the valve's internal components.
Another way to test the valve operation is by manually actuating the valve. Some solenoid valves have a manual override feature that allows you to open or close the valve without applying power. Use the manual override to check if the valve can open and close smoothly. If there is resistance or the valve does not move at all, there may be a mechanical problem inside the valve.
5. Leakage Test
A leaking solenoid valve can cause inefficiencies and potential safety hazards. To check for leaks, apply power to the valve and let it operate for a few minutes. Then, visually inspect the valve and the surrounding area for any signs of fluid or gas leakage. You can also use a leak detection solution, such as a soapy water solution, to check for small leaks. Apply the solution to the valve connections and any potential leak points. If there are bubbles forming, it indicates a leak.
6. Compatibility Check
Sometimes, the issue may not be with the valve itself but with its compatibility with the system. Ensure that the valve is suitable for the fluid or gas it is controlling. Different solenoid valves are designed for specific types of fluids, such as water, air, or oil. Using a valve that is not compatible with the fluid can lead to corrosion, blockages, or other problems.
Also, check the pressure and temperature ratings of the valve. Make sure that the operating conditions of the system are within the valve's specified range. If the pressure or temperature exceeds the valve's ratings, it can cause damage to the valve and affect its performance.
Product Recommendations
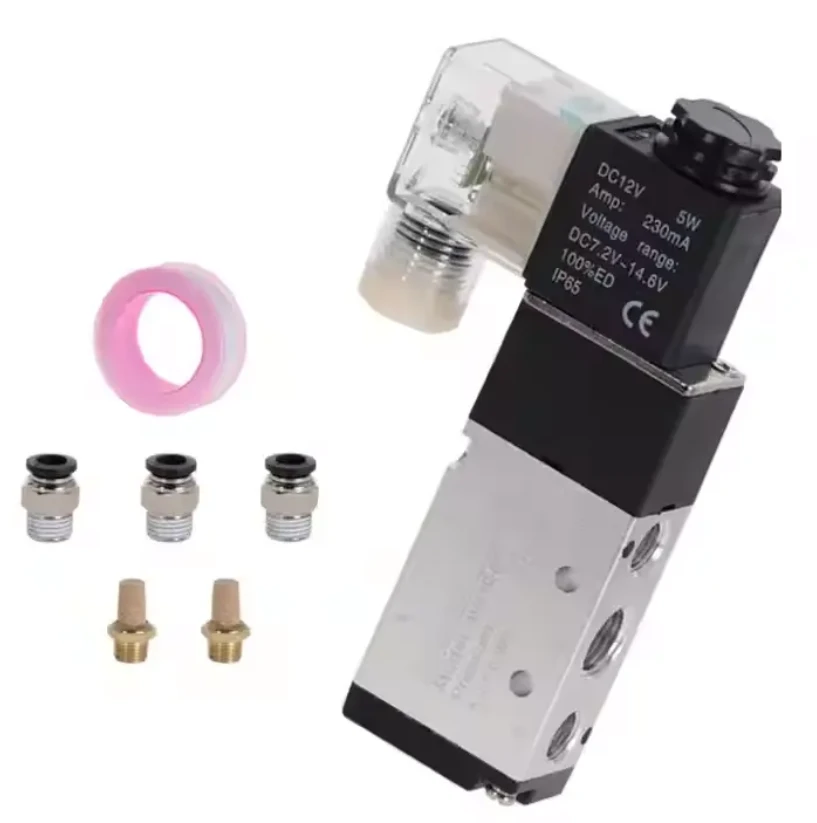
If you are in the market for high - quality solenoid valves, we offer a wide range of products. For example, our Pneumatic Solenoid Valve 5 Way 2 - position Control Air 12V 24V is suitable for various pneumatic control applications. It provides reliable performance and precise control.
Our 2 - way 5 - port High - pressure Pneumatic Solenoid Valve (0 - 10MPa) is designed for high - pressure pneumatic systems. It can withstand pressures up to 10MPa and ensures stable operation.
In addition, our YT1000L 4~20mA Electric/pneumatic Valve Positioner can be used in conjunction with solenoid valves to provide accurate valve positioning control.
Conclusion
Checking if a 220V solenoid valve is working properly involves a series of steps, from visual inspection to more detailed electrical and operational tests. By following these methods, you can diagnose most common problems with solenoid valves. If you are still having trouble or need further assistance, please feel free to contact us for professional advice. We are always ready to help you with your solenoid valve needs and look forward to discussing your procurement requirements.
References
- Manufacturer's manuals for 220V solenoid valves
- Electrical engineering textbooks on solenoid operation
- Industry standards for solenoid valve testing and maintenance


