Hey there! I'm a supplier of 220V solenoid valves, and today I'm gonna walk you through the process of installing a 220V solenoid valve in a control panel. It might seem a bit daunting at first, but with the right steps and a bit of know - how, you'll have it up and running in no time.

What You'll Need
First things first, let's talk about the tools and materials you'll need for this installation. You'll need a 220V solenoid valve, of course. We offer a great selection, like the [Long Life Pneumatic Air Control Solenoid Valve](/solenoid - valve/1234.html). It's built to last and works like a charm in a control panel. You'll also need a control panel that's suitable for the valve, wire strippers, a screwdriver, electrical tape, and some appropriate wiring. Make sure the wiring is rated for 220V to avoid any safety hazards.
Pre - installation Checks
Before you start the actual installation, it's super important to do some pre - installation checks. Check the control panel to make sure it has enough space for the solenoid valve. You don't want it to be too cramped, as that can lead to overheating and other issues. Also, verify that the control panel's electrical system is compatible with a 220V load. If you're not sure, it's a good idea to consult an electrician.
Inspect the solenoid valve itself. Look for any visible damage, like cracks or bent parts. If you find any issues, don't use the valve. Contact us, and we'll help you get a replacement. And don't forget to check the valve's specifications to make sure it's the right one for your application. For example, if you need a valve for a specific type of fluid or gas, make sure the valve is rated for it.
Step 1: Mounting the Solenoid Valve
Once you've done all the checks, it's time to start mounting the solenoid valve in the control panel. First, find a suitable location in the panel. It should be a spot where the valve can be easily accessed for maintenance and where it won't interfere with other components.
Use the appropriate screws or mounting brackets to secure the valve to the panel. Make sure it's firmly attached so that it doesn't vibrate loose over time. If the valve has gaskets, make sure they're properly seated to prevent any leaks.
Step 2: Wiring the Solenoid Valve
Now comes the wiring part. This is a crucial step, so take your time and be careful. First, turn off the power to the control panel to avoid any electrical shocks.

Use the wire strippers to remove the insulation from the ends of the wires. You'll typically have two wires for the 220V connection. Connect these wires to the appropriate terminals on the solenoid valve. Usually, there will be markings on the valve to indicate which terminal is for the live wire and which is for the neutral wire.
Once the wires are connected, wrap them with electrical tape to insulate them and prevent any short circuits. Double - check your connections to make sure they're tight and secure.
If your application requires additional wiring, like for a control signal, make sure to connect those wires correctly as well. For example, if you're using a valve positioner like the [YT1000L 4~20mA Electric/pneumatic Valve Positioner](/solenoid - valve/yt1000l - 4 - 20ma - electric - pneumatic - valve.html), follow the manufacturer's instructions for wiring it to the solenoid valve.
Step 3: Testing the Installation
After you've finished wiring, it's time to test the installation. But before you turn the power back on, do one last visual check to make sure everything looks good.

Turn the power on to the control panel and test the solenoid valve. You can do this by sending a control signal to the valve (if applicable) or by simply turning it on and off. Listen for the clicking sound of the valve opening and closing. If you don't hear the sound or if the valve doesn't seem to be working properly, turn off the power immediately and check your connections again.
If the valve works as expected, congratulations! You've successfully installed the 220V solenoid valve in the control panel.
Additional Tips and Considerations
- Ventilation: Make sure the control panel has proper ventilation. Solenoid valves can generate heat during operation, and good ventilation will help keep the temperature down and prevent damage to the valve and other components.
- Maintenance: Regular maintenance is key to keeping your solenoid valve in good working condition. Check the valve periodically for leaks, wear, and tear. Clean the valve if necessary, following the manufacturer's instructions.
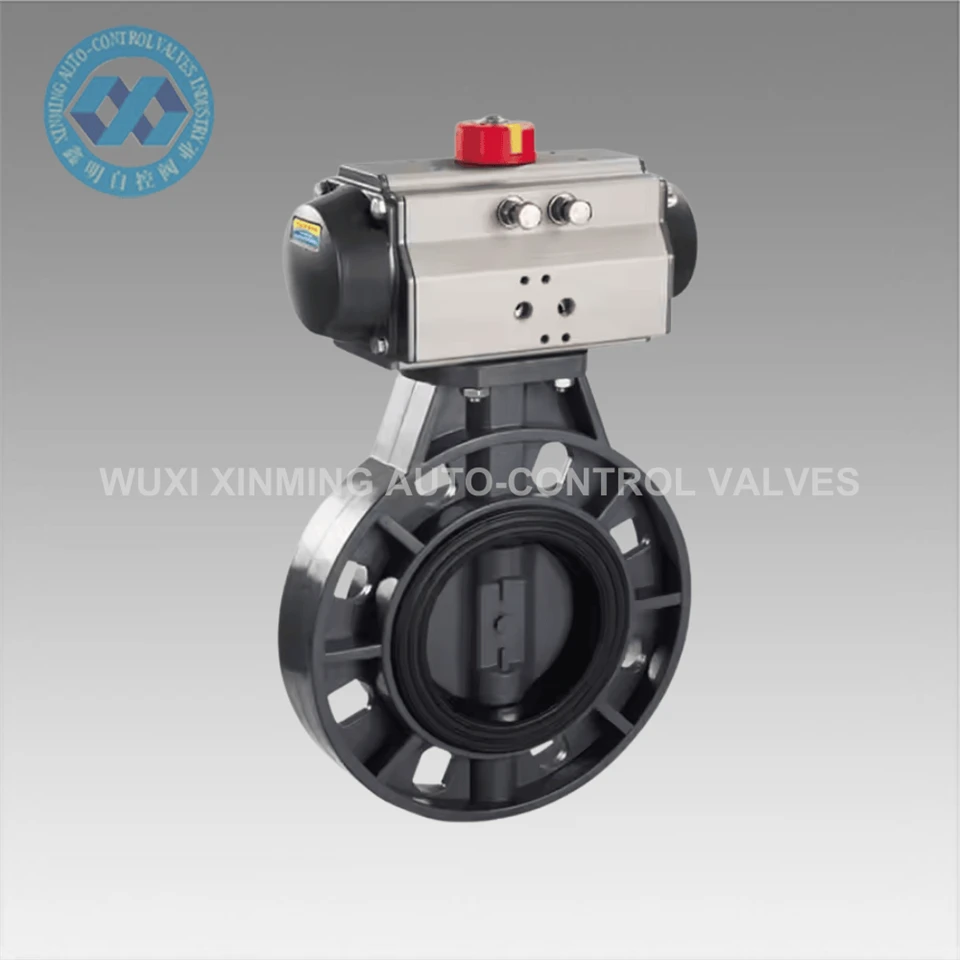
- Customization: If you have specific requirements for your application, we offer customizable options. For example, our [OEM Double Acting Spring Return Dn300Mm mm Upvc Pneumatic Butterfly Valve 1.5 Inches Customizable Pneumatic Valve Butterfly Type](/solenoid - valve/oem - double - acting - spring - return - dn300mm - mm.html) can be tailored to your needs. Just let us know what you need, and we'll work with you to get it right.
Contact Us for Your Solenoid Valve Needs
If you're in the market for a 220V solenoid valve or have any questions about the installation process, don't hesitate to reach out. We're here to help you find the right valve for your application and provide you with all the support you need. Whether you're a DIY enthusiast or a professional in the industry, we've got you covered. So, drop us a line and let's start talking about your solenoid valve requirements.
References
- General electrical installation guidelines
- Manufacturer's manuals for 220V solenoid valves
- Industry standards for control panel installations


