Installing a butterfly valve in a horizontal pipeline is a task that requires careful planning and precision. As a butterfly valve supplier, I've had the privilege of witnessing firsthand the importance of proper installation for the optimal performance of these valves. In this blog post, I'll guide you through the step-by-step process of installing a butterfly valve in a horizontal pipeline, sharing valuable insights and tips along the way.
Pre-Installation Preparations
Before you begin the installation process, it's crucial to gather all the necessary tools and materials. Here's a list of items you'll typically need:
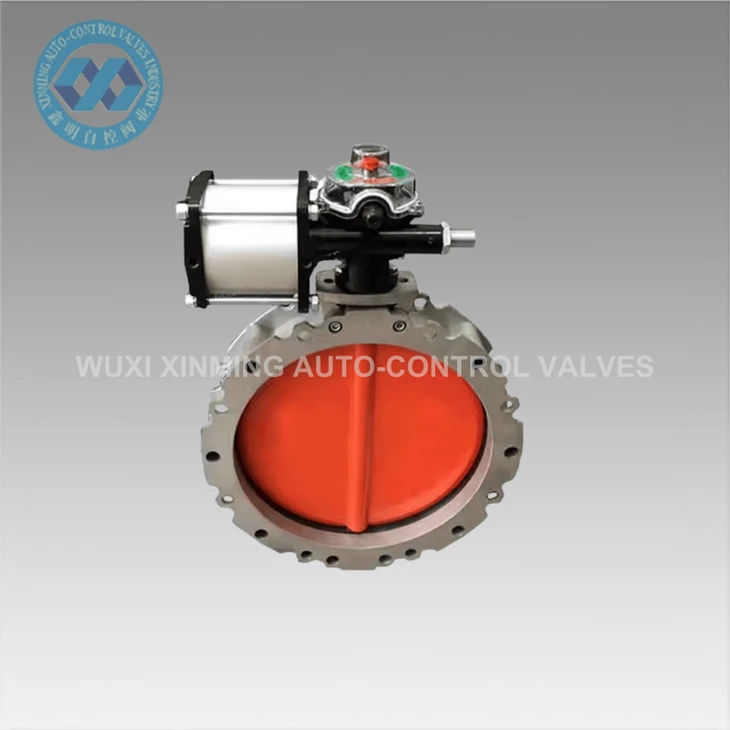
- Butterfly valve: Ensure that the valve you've selected is the correct size and type for your pipeline system. You can explore our range of butterfly valves, including the Pneumatic Actuator Wafer Butterfly Valve, Damper Butterfly Valve, and High Quality Aluminum Alloy Butterfly Valve Pneumatic Dust-proof Butterfly Valve.
- Gaskets: Choose gaskets that are compatible with the valve and the pipeline material. They help create a tight seal and prevent leaks.
- Bolts and nuts: Select the appropriate size and grade of bolts and nuts for securing the valve to the pipeline.
- Wrenches and sockets: You'll need these tools to tighten the bolts and nuts.
- Pipe cutter and grinder: If necessary, use these tools to prepare the pipeline ends for installation.
- Measuring tape and level: These tools are essential for ensuring proper alignment and positioning of the valve.
Once you have all the tools and materials ready, it's time to inspect the pipeline and the valve. Check the pipeline for any damage, debris, or misalignments. Make sure the valve is in good condition and free from any defects. Clean the pipeline ends and the valve faces to remove any dirt, rust, or grease.
Pipeline Preparation
Proper pipeline preparation is crucial for a successful valve installation. Follow these steps to prepare the pipeline:
- Cut the pipeline: If the pipeline needs to be cut to accommodate the valve, use a pipe cutter to make a clean, straight cut. Make sure the cut is perpendicular to the pipeline axis.
- Bevel the pipeline ends: Use a grinder or a beveling tool to bevel the pipeline ends. This helps create a smooth transition between the pipeline and the valve, reducing the risk of turbulence and pressure drop.
- Clean the pipeline ends: Use a wire brush or a solvent to clean the pipeline ends. Remove any dirt, rust, or debris that could affect the seal between the valve and the pipeline.
- Measure and mark the pipeline: Use a measuring tape to measure the distance between the pipeline flanges. Mark the centerline of the pipeline on both flanges. This will help you align the valve correctly.
- Check the pipeline alignment: Use a level to check the alignment of the pipeline. Make sure the pipeline is straight and level. If necessary, adjust the pipeline supports to ensure proper alignment.
Valve Installation
Now that the pipeline is prepared, it's time to install the butterfly valve. Follow these steps for a successful installation:
- Position the valve: Place the valve between the pipeline flanges, aligning the valve centerline with the centerline of the pipeline. Make sure the valve is oriented correctly, with the flow direction arrow on the valve body pointing in the direction of the flow.
- Insert the gaskets: Place the gaskets between the valve flanges and the pipeline flanges. Make sure the gaskets are centered and aligned with the bolt holes.
- Insert the bolts and nuts: Insert the bolts through the bolt holes in the valve flanges and the pipeline flanges. Use a wrench or a socket to tighten the nuts. Start by tightening the bolts in a cross pattern, gradually increasing the torque until the nuts are snug.
- Check the valve operation: Once the valve is installed, check the valve operation. Open and close the valve several times to make sure it moves smoothly and freely. Check for any leaks around the valve flanges.
- Perform a pressure test: After the valve is installed and the operation is checked, perform a pressure test to ensure the integrity of the installation. Follow the manufacturer's instructions for conducting the pressure test.
Post-Installation Checks
After the valve is installed and the pressure test is completed, it's important to perform some post-installation checks. Here are some things to check:
- Check the valve position: Make sure the valve is in the correct position. The valve should be fully open or fully closed, depending on the system requirements.
- Check the valve operation: Operate the valve several times to make sure it moves smoothly and freely. Check for any unusual noises or vibrations.
- Check for leaks: Inspect the valve flanges and the pipeline connections for any leaks. If you detect a leak, tighten the bolts or replace the gaskets as necessary.
- Check the pipeline supports: Make sure the pipeline supports are in good condition and properly adjusted. The supports should prevent excessive movement or vibration of the pipeline.
- Document the installation: Keep a record of the valve installation, including the valve model, size, installation date, and any other relevant information. This documentation will be useful for future maintenance and troubleshooting.
Tips for a Successful Installation
Here are some additional tips to ensure a successful butterfly valve installation:
- Follow the manufacturer's instructions: Always follow the manufacturer's instructions for valve installation. The instructions provide specific guidelines and recommendations for your valve model.
- Use the right tools and materials: Make sure you use the right tools and materials for the installation. Using the wrong tools or materials can lead to a poor installation and potential problems.
- Take your time: Installation is a precise task that requires patience and attention to detail. Take your time to ensure that each step is performed correctly.
- Seek professional help if needed: If you're not confident in your ability to install the valve, seek professional help. A qualified technician can ensure a proper installation and avoid potential problems.
Conclusion
Installing a butterfly valve in a horizontal pipeline is a complex but achievable task. By following the steps outlined in this blog post and using the right tools and materials, you can ensure a successful installation. Remember to perform pre-installation preparations, pipeline preparation, valve installation, and post-installation checks. If you have any questions or need further assistance, don't hesitate to contact us. We're here to help you find the right butterfly valve for your application and ensure a smooth installation process. Whether you're in need of a Pneumatic Actuator Wafer Butterfly Valve, Damper Butterfly Valve, or High Quality Aluminum Alloy Butterfly Valve Pneumatic Dust-proof Butterfly Valve, our team of experts is ready to assist you. Contact us today to discuss your requirements and start the procurement process.

References
- Valve Manufacturer's Installation Manuals
- Pipeline Installation Standards and Guidelines


