Installing a pneumatic ball valve in a pipeline is a task that requires careful planning, the right tools, and a good understanding of the process. As a pneumatic ball valve supplier, I've seen firsthand the importance of a proper installation to ensure the valve functions effectively and safely. In this blog post, I'll guide you through the step - by - step process of installing a pneumatic ball valve in a pipeline.
Step 1: Preparation
Before you start the installation, gather all the necessary tools and materials. You'll need a wrench, a tape measure, a pipe cutter (if needed), thread sealant, and of course, the pneumatic ball valve itself. It's also crucial to shut off the flow of the fluid in the pipeline. This can be done by closing the main valve upstream of the installation point. Make sure to relieve any pressure in the pipeline to prevent any accidents during the installation process.
Inspect the pipeline and the valve. Check the pipeline for any damage, corrosion, or debris. Clean the pipeline if necessary. Examine the pneumatic ball valve for any visible defects, such as cracks or damaged seals. Ensure that the valve size matches the pipeline size. If not, you may need to use reducers or adapters.
Step 2: Measuring and Cutting the Pipeline (if required)
If the pipeline needs to be cut to fit the valve, use a pipe cutter to make a clean, straight cut. Measure the length of the valve and mark the pipeline accordingly. Make sure to leave enough space for the valve and any necessary connections. After cutting, deburr the edges of the pipeline to prevent any sharp edges from damaging the valve seals.
Step 3: Applying Thread Sealant
If the valve has threaded connections, apply a suitable thread sealant to the male threads. This will help prevent leaks and ensure a tight seal. Be careful not to apply too much sealant, as it can get into the valve and cause blockages. Use a brush or a small applicator to apply the sealant evenly.
Step 4: Installing the Valve
Place the pneumatic ball valve in the pipeline at the marked location. Align the valve with the pipeline carefully. If the valve has flanged connections, use bolts and gaskets to secure the valve to the pipeline. Make sure the bolts are tightened evenly to prevent any leaks. For threaded connections, carefully screw the valve onto the pipeline by hand first, and then use a wrench to tighten it further. Do not over - tighten, as this can damage the threads or the valve.
Step 5: Connecting the Pneumatic Actuator
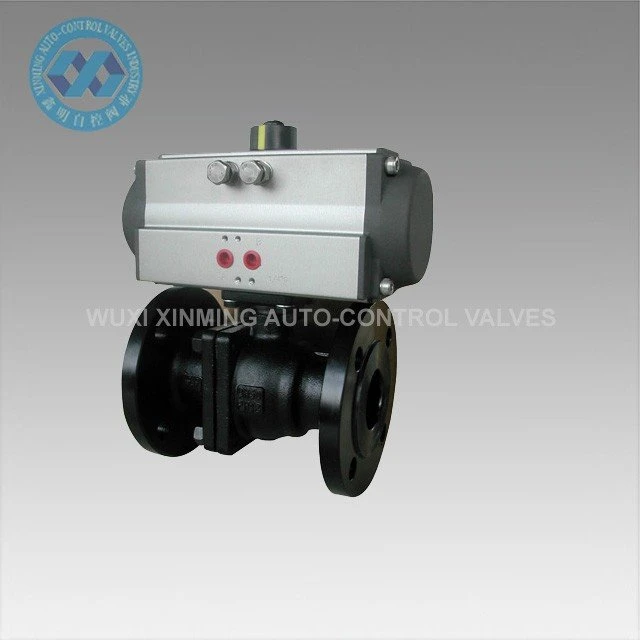
The pneumatic actuator is an essential part of the pneumatic ball valve. It controls the opening and closing of the valve. Connect the actuator to the valve according to the manufacturer's instructions. This usually involves attaching the actuator to the valve stem and connecting the air supply lines. Make sure all the connections are secure and leak - free.
Step 6: Testing the Valve
Once the valve is installed and the actuator is connected, it's time to test the valve. Slowly open the main valve upstream to allow fluid to flow into the pipeline. Check for any leaks around the valve connections. If there are any leaks, tighten the connections or replace the gaskets as needed.
Use the pneumatic actuator to open and close the valve several times. Observe the operation of the valve to ensure it opens and closes smoothly. Check for any abnormal noises or vibrations, which could indicate a problem with the installation or the valve itself.
Step 7: Final Checks and Adjustments
After testing, make any final adjustments to the valve and the actuator. Check the alignment of the valve and the actuator again. Ensure that the valve is fully open and fully closed when it should be. If necessary, adjust the actuator settings to optimize the valve performance.
Inspect the entire installation for any loose parts or potential hazards. Clean up any debris or tools used during the installation.

Different Types of Pneumatic Ball Valves
As a pneumatic ball valve supplier, we offer a wide range of pneumatic ball valves to meet different needs. For example, our WCB Ball Valve is made of high - quality WCB material, which provides excellent durability and corrosion resistance. It is suitable for various industrial applications.
Our Metal - to - metal Ball Valve features a metal - to - metal sealing design, which can withstand high pressures and temperatures. It is ideal for harsh environments.
If you need a valve with internal thread connections, our Pneumatic Ball Valve With Internal Thread is a great choice. It is easy to install and can be used in small - diameter pipelines.
Conclusion
Installing a pneumatic ball valve in a pipeline is a process that requires attention to detail and following the correct procedures. By following the steps outlined in this blog post, you can ensure a successful installation. As a pneumatic ball valve supplier, we are committed to providing high - quality valves and excellent customer service. If you have any questions about our products or need help with the installation, please feel free to contact us for procurement and further discussions.
References
- Valve Installation Manuals from Leading Manufacturers
- Industrial Pipeline Installation Guidelines
- Pneumatic Actuator Technical Documents


